Four NDT Methods for Casting Parts
Metal Castings are widely used. As a foundry of metal casting parts, it is good at some castings with complex structure, high appearance finish and high shape and position tolerance requirements. Some customers attach great importance to the mechanical properties of castings, so castings cannot have internal defects such as porosity, shrinkage cavity and crack. We generally use four detection methods.
1. Magnetic particle testing
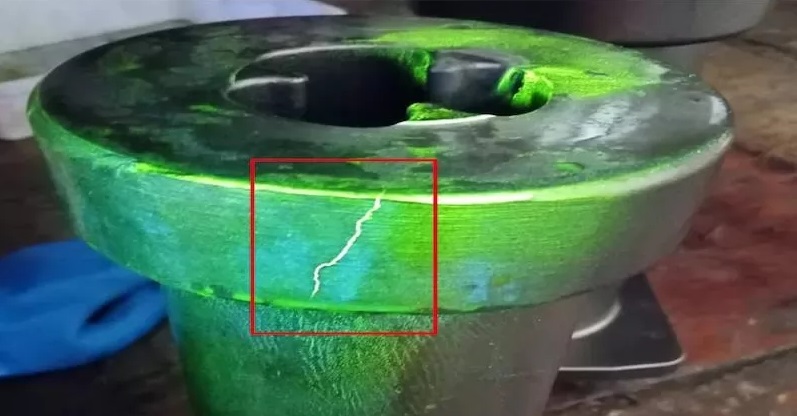
Magnetic particle testing is suitable for testing surface defects and defects several millimeters deep below the surface. It requires DC (or AC) magnetization equipment and magnetic particle (or magnetic levitation liquid) for testing operation. Magnetization equipment is used to generate magnetic field on the inner and outer surfaces of castings, and magnetic particle or magnetic suspension fluid is used to show defects. When a magnetic field is generated within a certain range of the casting, the defects in the magnetized area will produce a magnetic leakage field. When the magnetic particle or suspension is sprinkled, the magnetic particle is absorbed, so that the defects can be displayed. The defects displayed in this way are basically the defects that cross cut the magnetic line of force, but the long strip defects parallel to the magnetic line of force cannot be displayed. Therefore, the magnetization direction needs to be constantly changed during operation to ensure that all defects in the unknown direction can be detected.

2. Liquid penetrant testing
Liquid penetrant testing is used to inspect various opening defects on the surface of castings, such as surface cracks, surface pinholes and other defects that are difficult to find by naked eyes. The commonly used penetrant testing is dye testing, which is to wet or spray the colored (generally red) liquid (penetrant) with high permeability on the casting surface, infiltrate the penetrant into the opening defects, quickly wipe off the surface penetrant layer, and then spray the easy to dry display agent (also known as developer) on the casting surface, After the penetrant remaining in the opening defect is sucked out, the display agent is dyed, so as to reflect the shape, size and distribution of the defect. It should be pointed out that the accuracy of penetrant testing decreases with the increase of the surface roughness of the tested material, that is, the brighter the surface, the better the detection effect. The surface polished by the grinder has the highest detection accuracy, and even intergranular cracks can be detected. In addition to dye detection, fluorescent penetrant detection is also a common liquid penetrant detection method. It needs to be equipped with ultraviolet lamp for irradiation observation, and the detection sensitivity is higher than that of dye detection.


3.Ultrasonic flaw detection
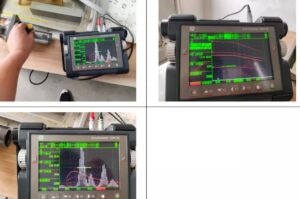
Ultrasonic testing can be used to check internal defects. It uses the sound beam with high-frequency sound energy to reflect when it touches the internal surface or defects. The reflected sound energy is a function of the directivity and nature of the inner surface or defect and the acoustic impedance of this reflector. Therefore, the sound energy reflected by various defects or inner surfaces can be used to detect the location, wall thickness or depth of defects under the surface. As a widely used nondestructive testing method, ultrasonic testing has the following main advantages: high detection sensitivity and can detect small cracks; It has large penetration ability and can detect thick section castings. Its main limitations are: it is difficult to interpret the reflection waveform of disconnected defects with complex contour size and poor directivity; Undesirable internal structures, such as grain size, microstructure, porosity, inclusion content or fine dispersed precipitates, also hinder waveform interpretation; In addition, it is necessary to refer to the standard test block during testing.

4. Radiographic testing
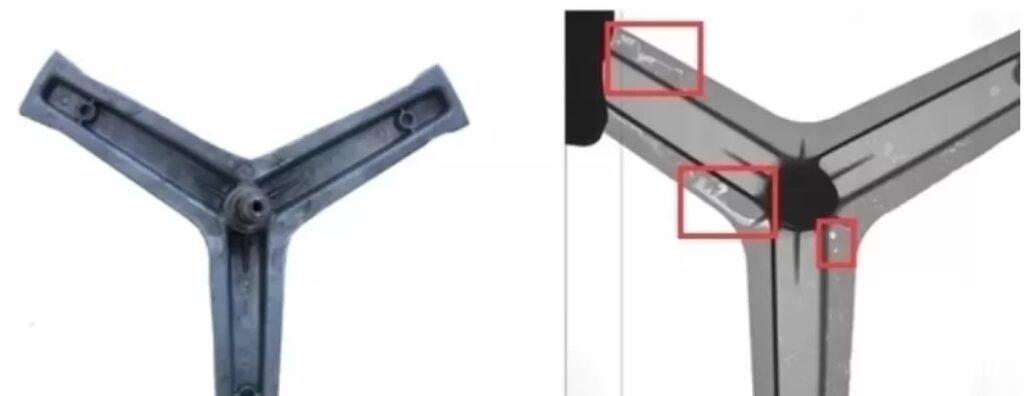
X-ray testing, generally X-ray or γ As the ray source, the ray generating equipment and other auxiliary facilities are required. When the workpiece is irradiated in the ray field, the radiation intensity of the ray will be affected by the internal defects of the casting. The radiation intensity emitted through the casting varies locally with the size and nature of the defect, forming a radiographic image of the defect, which is imaged and recorded by radiographic film, or detected and observed in real time by fluorescent screen, or detected by radiation counter. Among them, the method of radiographic film imaging recording is the most commonly used method, that is, commonly known as radiographic detection. The defect image reflected by radiography is intuitive, and the defect shape, size, quantity, plane position and distribution range can be presented. Only the defect depth can not be reflected generally, so it can be determined only by taking special measures and calculation. At present, the application of radiographic computer tomography method can not be popularized because of its expensive equipment and high cost, but this new technology represents the future development direction of high-definition radiographic testing technology. In addition, the micro focus X-ray system using an approximate point source can actually eliminate the fuzzy edges generated by large focus devices and make the image contour clear. The use of digital image system can improve the signal-to-noise ratio of the image and further improve the image definition.

According to the current trend, more customers will choose radiographic inspection in the future. Compared with other inspection methods, the conclusion of radiographic inspection is more accurate and intuitive. Radiographic inspection of silica sol castings of our company is in accordance with astme446-2015 standard and can reach level 3 or above.


